
Plan for 3–5 months, not 3–5 weeks
Canada's Student Direct Stream (SDS) — the fast-track processing route that many Bangladeshi students relied on — ended in November 2024. All applicants, including those from Bangladesh, now go through the regular study permit stream, and processing has been slower and less predictable since. Budget 3–5 months from your LOA to a final decision, and always verify current processing times at canada.ca before planning your flight. C$1 ≈ ৳88 for planning purposes.
SDS is gone — don't plan around old timelines
Step 1: Letter of Acceptance (LOA) from a Designated Learning Institution (DLI)
Your study permit application requires an LOA from a DLI — a school approved by a provincial or territorial government to host international students. Not every Canadian college or private career college is a valid DLI for study-permit purposes; check the institution's DLI number on its offer letter and cross-verify it on the official DLI list on canada.ca before paying any deposit.
Step 2: PAL or TAL — the provincial attestation letter
Since 2024, most study permit applicants also need a Provincial Attestation Letter (PAL) or Territorial Attestation Letter (TAL) issued by the province or territory where your DLI is located, confirming you count within that region's allocated intake cap. Your institution typically issues or requests this on your behalf once you've accepted your offer and paid the required deposit — ask your DLI's international office directly, since the process differs by province and some categories of applicants are exempt.
Step 3: Tuition deposit and the GIC / proof of funds
| Requirement | Approx. amount (2026) | In taka (C$1≈৳88) | Notes |
|---|---|---|---|
| Tuition deposit to the DLI | Typically first year's fees or a set deposit | As billed by your institution | Required before the LOA is issued or confirmed as unconditional |
| GIC (Guaranteed Investment Certificate) | ≈ C$22,895 | ≈ ৳20,14,760 | Cost-of-living component for a single applicant, DLIs outside Quebec, effective 1 September 2025 — verify the current figure on canada.ca before relying on it |
| Alternative proof of funds (non-GIC) | GIC amount plus one year's tuition, or a bank statement/loan for the equivalent | Varies | GIC is the most common route but not the only accepted method — check current IRCC guidance |
The GIC figure changes periodically and Quebec-bound applicants have a separate provincial calculation — always confirm the current required amount for your destination province directly on canada.ca before purchasing a GIC through a participating Canadian bank.
Step 4: Upfront medical exam with a panel physician
- 1
Check whether you need an upfront medical exam
Depending on your program length and other factors, you may need to complete a medical exam before or shortly after applying — check the current IRCC guidance for your situation.
- 2
Book with an IRCC panel physician in Dhaka
The exam must be done by a physician on IRCC's approved panel list, not just any doctor — check the current panel physician list for Bangladesh on canada.ca before booking.
- 3
Results go directly to IRCC
The panel physician submits results electronically; keep your own receipt and reference number in case you need to follow up.
Step 5: Submit online, then VFS Dhaka biometrics
- 1
Apply for the study permit online
Through your IRCC secure account, uploading your LOA, PAL/TAL, proof of funds, medical results reference, passport, and academic documents.
- 2
Pay the study permit fee and biometrics fee
Amounts change periodically — confirm the current fee schedule on canada.ca before paying.
- 3
Book your biometrics appointment at VFS Global Dhaka
Fingerprints and a photo are taken at the VFS Global Canada visa application centre in Dhaka after you submit your online application and pay the biometrics fee.
- 4
Wait for a decision
With SDS gone, expect the regular processing timeline — check the current published estimate on canada.ca and don't book non-refundable flights until you're approved.
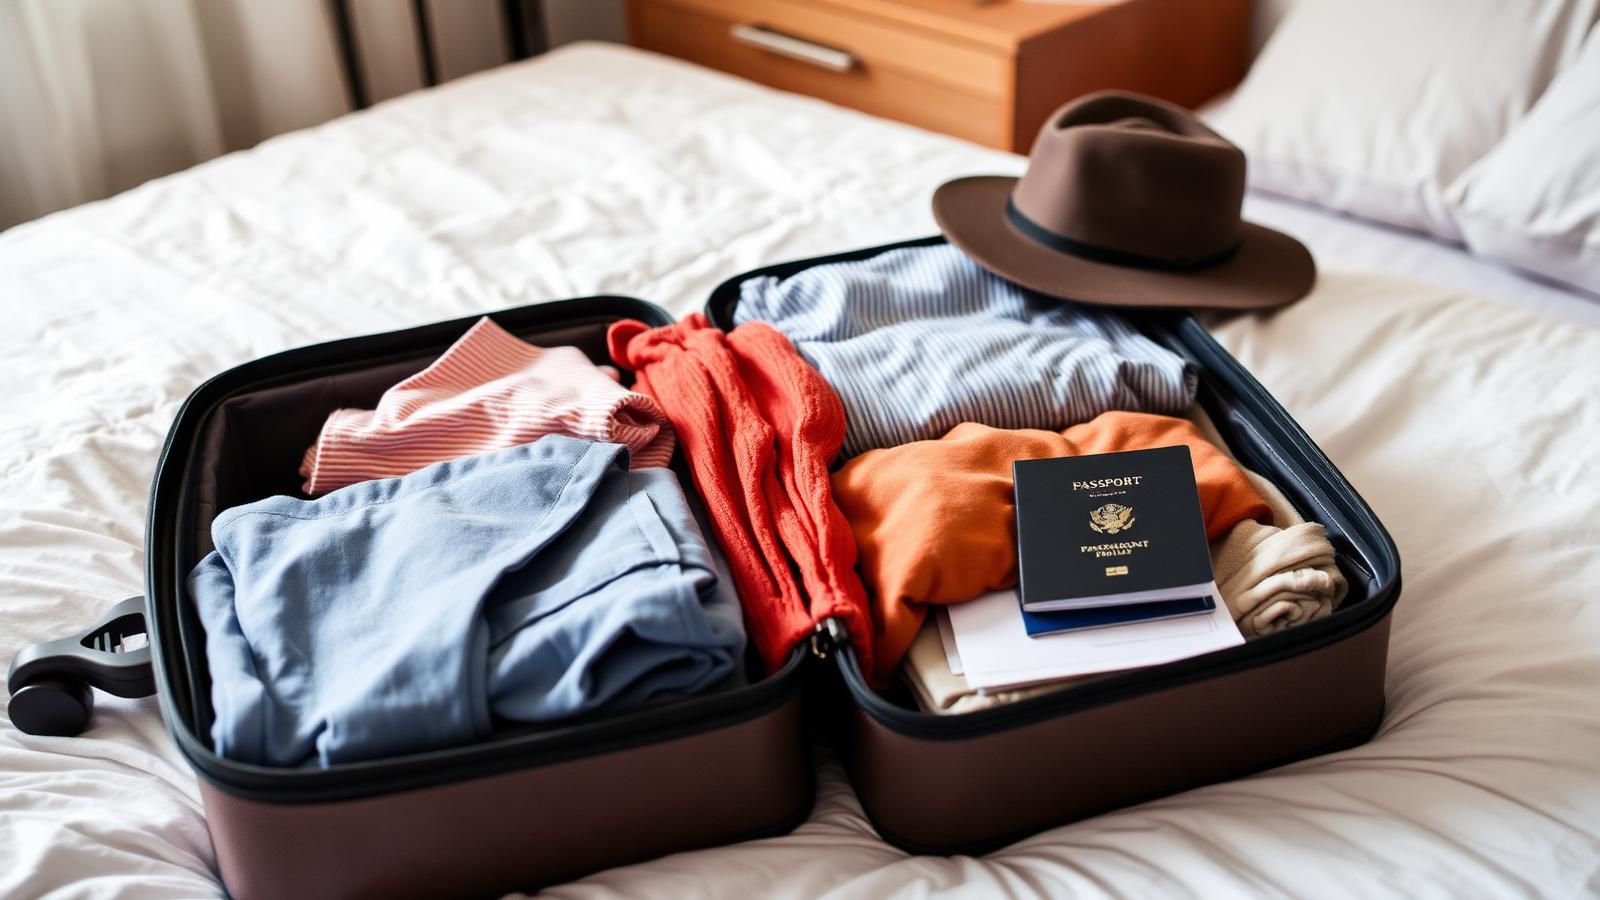
What to hand-carry — never in checked luggage
- ✓Passport with the study permit approval / port-of-entry letter of introduction
This letter, not the visa sticker or eTA alone, is what a CBSA officer uses to actually issue your study permit at the border.
- ✓LOA and PAL/TAL (printed)
CBSA may ask to see these even though they were reviewed digitally during your application.
- ✓Original academic transcripts and certificates
Sealed university envelopes where provided.
- ✓Medical exam reference number
Keep proof even though the result is on file with IRCC.
- ✓GIC confirmation and proof of funds summary
Bank letter or GIC certificate showing the funds are in place.
- ✓Passport-size photos and a spare set of document copies
Useful for on-arrival paperwork, SIN application and bank account opening.
What NOT to pack, and currency limits
- ✓Don't pack more than C$10,000 equivalent in cash without declaring it
Any traveller carrying C$10,000 or more (or the equivalent in any currency, including combined cash and monetary instruments) into Canada must declare it to CBSA — undeclared amounts above this can be seized.
- ✓Avoid packing restricted or prohibited food, plant and animal items
Many home-cooked items, fresh produce, and certain spices can be flagged at the border — check the current CBSA list before packing family-prepared food.
- ✓Skip the excess heavy winter clothing
See our flights guide — buy your real winter coat and boots after arriving in Canada.
CBSA questions at the port of entry — where your study permit is actually issued
Unlike some countries, Canada does not issue your final study permit before you travel — the visa office issues an approval letter (port of entry letter of introduction) and, if required, a visa or eTA in your passport, but the physical study permit itself is only printed and given to you by a CBSA officer when you arrive.
At the port of entry, a CBSA officer will review your port-of-entry letter, passport, proof of funds and LOA, may ask about your DLI, program, city of study and funding, and then issues your study permit on the spot. Answer simply and consistently with your application; keep every original document in your carry-on, not your checked bag, since you cannot get your study permit issued without them.
Verify at the official source
Want this decided for you, not just explained?
Your personalised blueprint picks the exact course, university, city and PR route for your grades, budget and career — with every cost in taka. From ৳390 for one full assessment.
Related Canada guides
Read these next — universities, courses, cities and the residence route all feed into the same decision.
Best 10 Canadian universities and public colleges
Ten realistic DLIs with tuition in CAD and BDT, entry bars, funding and assistantship odds, and how their graduates actually do in the job market.
Before you choose · 9 minCourse list by tier — PGWP-eligible vs dead ends
Which programs keep your PGWP and PR odds alive, which fields the college field-of-study list covers, and which private-college diplomas burn 25 lakh for nothing.
Before you choose · 9 minBest 5 Canadian cities for Bangladeshi students
Rent, part-time pay, PNP nomination odds and Bangladeshi community for Toronto, Calgary, Winnipeg, Halifax and Waterloo — with honest cost tradeoffs.
Before you choose · 11 minPGWP, Express Entry and PR — the real Canadian path
How the study permit, a PGWP of up to 3 years, CRS scores, category-based draws and Provincial Nominee Programs actually connect in 2026.
Before you fly · 7 minCheapest way to fly Dhaka → Canada
Dhaka to Toronto, Montreal, Vancouver and Calgary — routes, airlines, student baggage allowances, transit visa traps and when to book.
After you land · 8 minFinding a room in Canada without Canadian credit
Residence vs basement vs shared apartment, first-and-last-month deposits, no-credit-history workarounds, winter heating bills, and rental scams.