
Poland has no visa section in Dhaka — that's the whole game
Bangladeshi applicants lodge biometrics and documents at VFS Global Dhaka, but the actual decision on your national D student visa is made by the Embassy of the Republic of Poland in New Delhi. This adds real weeks to every stage, and appointment scarcity — not your eligibility — is usually what decides whether you make the October intake. Figures below are approximate at roughly 1 PLN ≈ ৳33 — verify current fees and processing times with VFS Global Dhaka and the Polish Embassy New Delhi before relying on them.
Book your VFS Global Dhaka appointment the day your admission letter arrives
Step 1: Secure admission and pay the tuition deposit or first instalment
- 1
Apply directly to the university
Most Polish universities — public (University of Warsaw, Jagiellonian, AGH, Warsaw Tech) and private (Kozminski, Lazarski, Vistula, WSB Merito) — run their own online application portals rather than a centralised system.
- 2
Pay tuition per semester or per year, upfront
Polish universities generally require tuition paid ahead of the term, and the payment confirmation is a required visa document — start this the moment you accept your offer, since international transfers and confirmation receipts take time.
- 3
Get the formal payment confirmation letter, not just a bank receipt
New Delhi typically wants a university-issued confirmation of tuition payment alongside your admission letter, not only your bank's transfer slip.
Step 2: Book the VFS Global Dhaka appointment for the New Delhi-decided visa
The moment your admission letter and tuition confirmation are in hand, book your VFS appointment — this is the step most likely to cost you the intake if delayed.
| Item | Approximate figure | In taka (1 PLN≈৳33) | Notes |
|---|---|---|---|
| National D visa (study) fee | ≈ €80 equivalent, paid in local currency at VFS | Verify exact BDT amount at booking | Set by the Polish Ministry of Foreign Affairs; VFS also charges its own service fee on top |
| VFS Global Dhaka service fee | Variable, separate from the visa fee | Verify at vfsglobal.com/poland/bangladesh | Covers document handling and biometrics collection at the Dhaka centre |
| Typical wait for a Dhaka appointment slot | Weeks, longer May–July | — | Book the day your admission letter arrives — do not wait for a complete file first |
| Typical New Delhi decision time after biometrics | 4–8+ weeks | — | Can run longer for private-university applicants who face more scrutiny, or if documents need clarification |
Step 3: Assemble proof of funds — traceable, not sudden
New Delhi scrutinises Bangladeshi financial files closely, and a large unexplained deposit shortly before applying is one of the most common refusal triggers.
- ✓Show funds covering tuition already paid plus a realistic year of living costs
Consulates in practice expect the full year's realistic cost covered, not just the statutory minimum maintenance figure — budget PLN 3,000–4,500/month for Warsaw or Kraków, less for smaller cities, and verify the exact figure the embassy expects at your appointment.
- ✓Keep 6+ months of clean bank statement history
A sudden large deposit right before applying is a classic refusal trigger — build up the balance over time and be ready to explain the source of every large transaction.
- ✓Document the income source behind sponsor funds
If a parent or guardian is sponsoring you, carry their salary certificates, business documents or land/property records that explain how the money was earned, not just a bank balance.
- ✓Carry a return or onward-affordability buffer
Some consulates also want to see you can afford a return journey if plans change — check current New Delhi guidance on this specific point.
Step 4: Arrange travel and health insurance for the visa
Your visa application needs proof of travel/medical insurance valid across the Schengen Area for at least your arrival period. This is separate from the NFZ (national health fund) student contribution you'll arrange after landing — buy a standard Schengen travel insurance policy covering at least your first month or two in Poland, with cover meeting the Schengen minimum (commonly EUR 30,000 medical cover), and keep the policy certificate ready to show at both the VFS appointment and Polish border control.
Step 5: Document legalisation and translation
Academic and civil documents from Bangladesh usually need more than a plain photocopy to be accepted by both the visa application and later Polish university enrolment.
- ✓Get academic transcripts and certificates attested
This typically means notarisation and Ministry of Foreign Affairs Dhaka attestation — check your specific university's and the embassy's exact requirement, since practice varies.
- ✓Apostille where required
Bangladesh is not a party to the Hague Apostille Convention, so most Bangladeshi documents go through embassy/consular legalisation rather than a formal apostille stamp — confirm with the Polish Embassy New Delhi exactly which chain of attestation it accepts.
- ✓Certified translation into Polish or English
Use a certified translator for any document not already in English — Polish universities and the Voivodeship Office later will be strict about translation quality and certification.
- ✓Carry both originals and certified copies
You need originals for the VFS/embassy process and certified copies for later Voivodeship Office and university enrolment steps.
Step 6: Biometrics at VFS Global Dhaka
At your VFS appointment you'll submit biometrics (fingerprints and a photo) along with your full document set, which VFS forwards to the Polish Embassy in New Delhi for the actual decision. Bring originals and copies of every required document, the visa fee in the accepted payment method, and a printed appointment confirmation. VFS staff check your file is complete before accepting it, but they cannot influence or expedite New Delhi's decision — plan your travel dates with real buffer around the stated processing time.
What to hand-carry on the flight
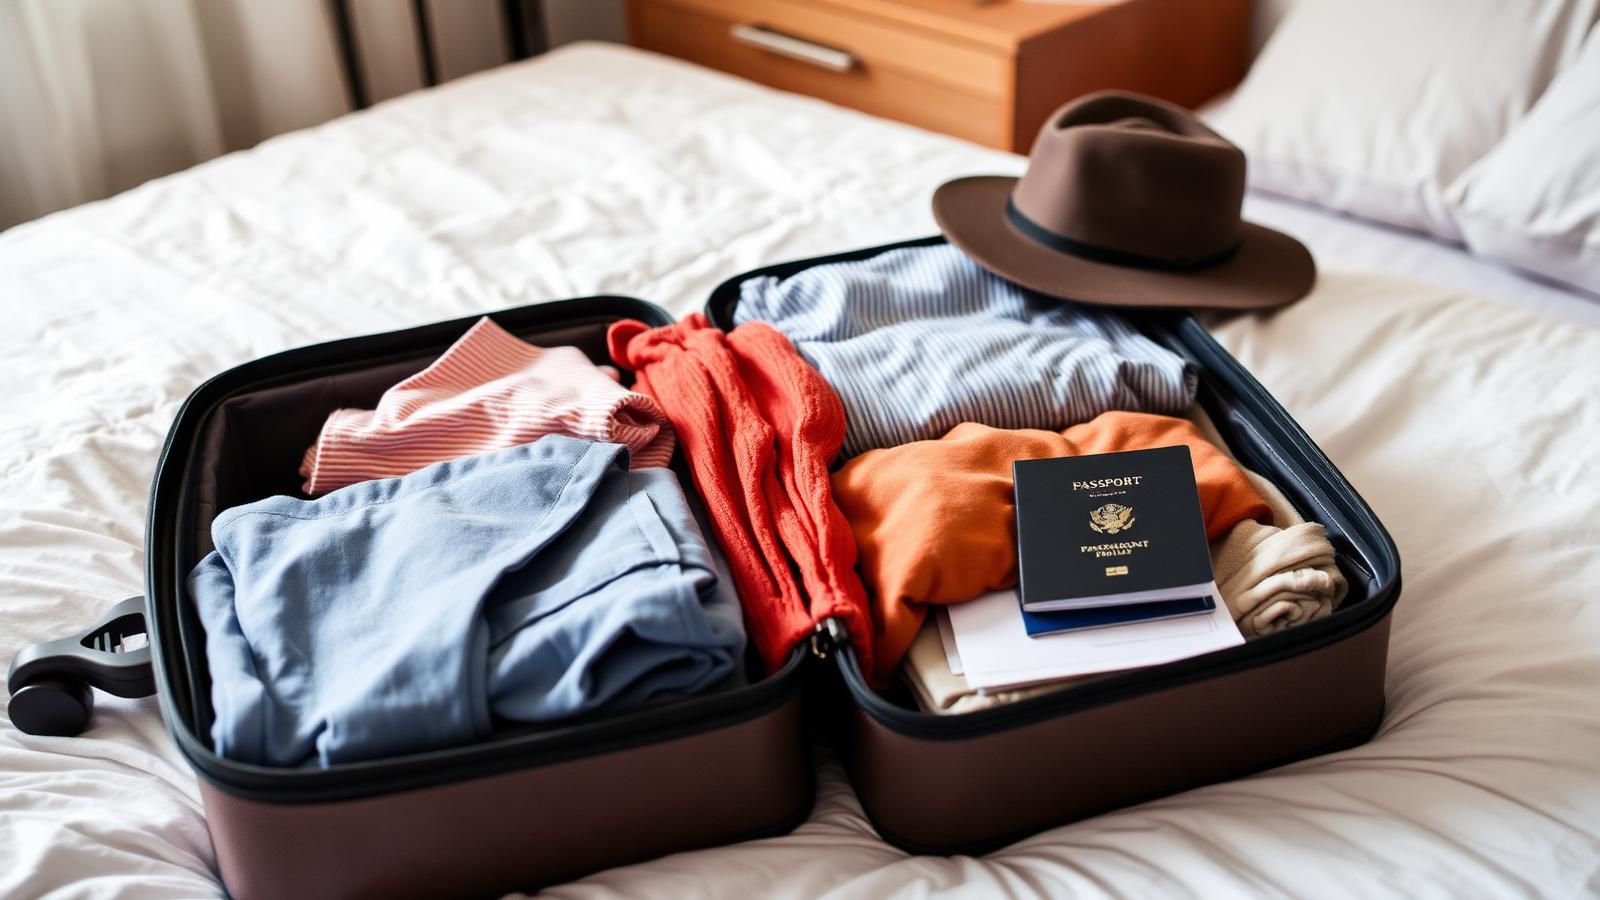
Pack your documents in your cabin bag, not checked luggage — you'll need them at the Polish border and again within days of arrival.
- ✓Passport with the affixed D visa
Check the sticker's validity window covers your arrival date with margin.
- ✓Admission letter and tuition payment confirmation
Originals, since Polish border officers and later the university may ask to see them.
- ✓Proof of funds and insurance certificate
Even though your visa is already issued, carrying copies avoids delay if questioned at the border.
- ✓Accommodation confirmation
An akademik offer letter or rental agreement with a fixed address — you'll need this address within days for meldunek.
- ✓Multiple passport photos
Poland's bureaucracy (PESEL, karta pobytu, university ID) asks for passport-style photos repeatedly — bring at least 6–8.
Arrival at Warsaw or Kraków airport
Border control checks your D visa, admission letter and accommodation proof, then stamps your passport for entry — from that stamp, your Polish bureaucratic clock starts running.
Keep your document folder accessible rather than buried in checked luggage. Officers occasionally ask a few questions about your programme and funding, similar to the New Delhi visa interview — answer plainly and consistently with what's in your file. Once through, arrange a SIM card and transport to your accommodation; Warsaw and Kraków both have reliable airport train/bus links into the city centre.
Your first 30 days: meldunek, PESEL, NFZ, bank, and filing for karta pobytu
Polish bureaucracy runs on a fairly strict sequence, and each step unlocks the next — start this in your first week, not your first month.
- 1
Meldunek — register your address
Register your address at the local office (or your university/dorm may assist) using your landlord's or akademik's confirmation of your right to stay there — this is the document trail that later steps rely on.
- 2
Apply for your PESEL number
PESEL is Poland's national identification number, needed for almost everything that follows — banking, tax matters, and often karta pobytu paperwork.
- 3
Register with NFZ or arrange private health insurance
Full-time students can join the NFZ (national health fund) with a modest monthly contribution (roughly PLN 55–60, verify current figure), or use private insurance — either way, don't leave a gap in cover after your travel insurance expires.
- 4
Open a Polish bank account
PKO BP, mBank, Santander and ING are common student-friendly choices — most require your PESEL and address registration, so this naturally follows meldunek.
- 5
File your karta pobytu (residence card) application before the visa expires
Submit at the Voivodeship Office (Urząd Wojewódzki) well before your D visa's validity ends — Mazowieckie (Warsaw) processing routinely takes 6–12 months, so the filed application, plus the stamp in your passport, is what keeps you legally resident while it's pending. A pending case can restrict onward Schengen travel, so plan accordingly.
If refused: appeal, don't just reapply blindly
A refusal from New Delhi is not automatically final — there is a formal appeal route.
- ✓Note the exact appeal deadline stated in your refusal letter
Missing the window generally means starting an entirely fresh application rather than an appeal.
- ✓Address each stated refusal reason specifically
Common reasons include unclear fund sources, weak course-to-background fit, or an incomplete document set — a generic resubmission rarely succeeds.
- ✓Add new, targeted evidence rather than repeating the same file
A well-documented appeal (odwołanie / wniosek o ponowne rozpatrzenie sprawy) that directly answers the refusal often succeeds where a simple reapplication would not.
Verify at the official source
Want this decided for you, not just explained?
Your personalised blueprint picks the exact course, university, city and PR route for your grades, budget and career — with every cost in taka. From ৳390 for one full assessment.
Related Poland guides
Read these next — universities, courses, cities and the residence route all feed into the same decision.
Best 10 Polish universities — public research vs private commercial
UW, Jagiellonian, AGH, Warsaw Tech, Wrocław Tech and the honest truth about Kozminski, Lazarski, Vistula and WSB Merito.
Before you choose · 9 minCourse list by tier — job-ready degrees vs visa-risk degrees
Which English-taught Polish programmes lead to IT, engineering and shared-service jobs, and which ones New Delhi refuses.
Before you choose · 9 minBest 5 Polish cities for Bangladeshi students
Warsaw, Kraków, Wrocław, Gdańsk and Poznań compared on rent, part-time pay, IT and SSC jobs, and how much Polish you actually need.
Before you fly · 7 minCheapest way to fly Dhaka → Warsaw or Kraków
Routes via Doha, Dubai, Istanbul and Abu Dhabi, student baggage allowances, Schengen transit rules and when to book for October.
Before you choose · 11 minKarta pobytu, the 9-month graduate permit and permanent residence
How the D visa, residence card, graduate job-search permit, EU Blue Card and the half-counting study years actually connect.
After you land · 9 minFinding a room in Poland — akademik, OLX and kaucja traps
Dorm applications, OLX and Otodom tactics, czynsz vs media, deposits, meldunek from your landlord and the classic transfer scam.