
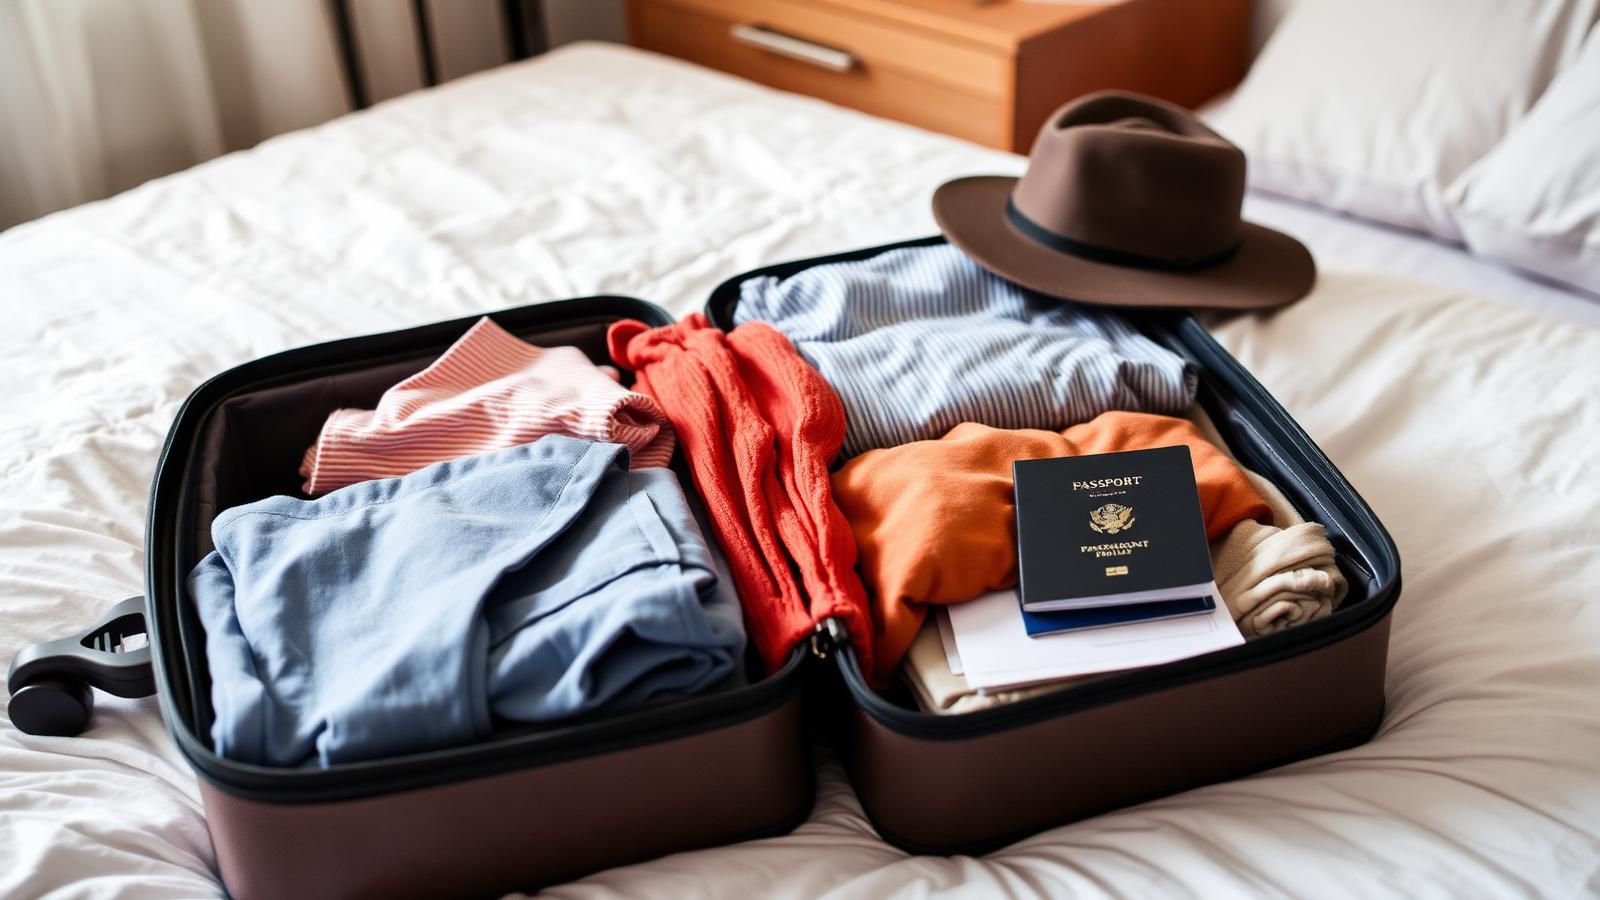
Work backwards from your flight
Everything below is ordered by when it must be done, not by importance. Print this page, or keep it open on your phone, and tick items off week by week. Always verify current visa and biosecurity rules directly with the Department of Home Affairs and the Australian Border Force before you rely on them.
60 days out
Paperwork that cannot be rushed.
- 1
Lock in your CoE (Confirmation of Enrolment)
Your Confirmation of Enrolment is the document your visa is built on. Check the course name, start date and provider CRICOS code match your offer exactly — errors here delay everything downstream.
- 2
Buy Overseas Student Health Cover (OSHC)
OSHC is mandatory for the entire visa duration. Compare Bupa, Medibank, Allianz Care and nib — a family or single policy costs roughly A$500–700 per year. Some universities bundle it into fees; confirm before double-paying.
- 3
Confirm your visa grant letter in writing
Download the PDF the moment it arrives, read every condition (especially work-hour and course-progress conditions), and save copies to your email, phone and a USB drive.
- 4
Prepare financial evidence properly
Keep bank statements, education loan sanction letters or sponsor affidavits consistent with what you declared. Do not make large, unexplained deposits close to your visa application — this is a common cause of scrutiny.
- 5
Apply for police clearance
A Police Clearance Certificate (PCC) from Bangladesh takes 2–4 weeks. Apply early — many students discover this requirement too late.
- 6
Complete any required medical examinations
Book through a Home Affairs-approved panel physician in Dhaka. Results are submitted electronically — don't assume a regular hospital check-up counts.
30 days out
- 1
Book your flight
Ask for the student fare with extra baggage. See our flights guide for routing and timing.
- 2
Sort your foreign currency and banking
Bangladesh Bank rules cap the foreign exchange you can carry or endorse against your passport for travel — check the current student quota with your bank, since it is separate from and usually larger than the standard travel allowance, and keep the encashment certificate.
- 3
Arrange your first 2–4 weeks of accommodation
Student accommodation, a homestay, or a short-term Airbnb/hostel booking. Never sign a 12-month lease from Bangladesh sight unseen.
- 4
Get prescriptions and a doctor's letter
Bring up to three months of any regular medicine in original packaging with a signed prescription. Check the Therapeutic Goods Administration rules — some common South Asian medicines are restricted or banned in Australia.
- 5
Notify your university of your arrival date
Many universities run free or discounted airport pickup and orientation for international students who register in advance.
7 days out
- ✓Print the document folder
Passport, visa grant letter, CoE, OSHC certificate, tuition receipts, accommodation booking, academic transcripts, PCC, medical records.
- ✓Pack for real Australian seasons
Melbourne and Adelaide get genuinely cold in winter (June–August); Brisbane and Perth summers are hot and dry. Pack layers, not just one climate.
- ✓Weigh your bags at home
A ৳500 luggage scale prevents a costly excess-baggage surprise at check-in.
- ✓Carry A$300–500 in cash
For transport, a SIM and food before your Australian bank card is active.
- ✓Set up an eSIM or international roaming
So you can contact family from the transit airport and arrange an Australian SIM on arrival.
- ✓Tell your bank you're travelling
Prevents your Bangladeshi card being blocked on first use overseas.
What goes in your hand luggage — never checked
If your checked bag is delayed, this bag must carry you through the first 48 hours.
Passport with visa grant letter printed, the full document folder, CoE and OSHC certificate, laptop and charger, all medicines with prescriptions, A$300–500 cash, a change of clothes, your accommodation address and phone number written on paper, a universal travel adapter (Australia uses Type I plugs, 230V), and your university's international student office contact number.
Landing day — biosecurity is not optional
- 1
Declare everything on the Incoming Passenger Card
Australia runs one of the strictest biosecurity systems in the world. Declare all food, plant material, seeds, spices, nuts, dairy and meat products, even sealed or commercially packaged items — declaring costs nothing, but an undeclared item found in your bag brings an on-the-spot fine of several hundred dollars and can affect future visas.
- 2
Expect your bags to be X-rayed
Detector dogs and X-ray screening are routine for all international arrivals, not just those who tick 'yes' on the card.
- 3
Buy a SIM at the airport
Telstra, Optus and Vodafone all have arrivals-hall kiosks — get a local number before anything else.
- 4
Get to your accommodation, then rest
Don't try to open a bank account or enrol on day one — jet lag makes every task twice as slow and error-prone.
- 5
Day 2–3: bank account, then Tax File Number (TFN)
Open your Australian bank account first; you'll need the details for payroll once you start working.
- 6
Week 1: enrol, get your student ID, register with a GP
The student ID often unlocks transport concessions in some states, and a registered GP saves a scramble later.
The folder that saves your first month
Leave this behind
Want this decided for you, not just explained?
Your personalised blueprint picks the exact course, university, city and PR route for your grades, budget and career — with every cost in taka. From ৳390 for one full assessment.
Related Australia guides
Read these next — universities, courses, cities and the residence route all feed into the same decision.
Best 10 Australian universities — entry, fees and outcomes
Group of Eight vs the smart mid-tier and regional picks, with realistic entry bars, tuition in AUD and BDT, and who each one actually suits.
Before you choose · 9 minCourse list by tier — from PR-gold to avoid
Every popular Australian course sorted Tier 1 to Tier 4 by PR value, job demand and cost — so you don't spend 40 lakh on a dead-end qualification.
Before you choose · 8 minBest 5 cities in Australia for Bangladeshi students
Rent, part-time work, graduate jobs, regional points and PR odds for Adelaide, Perth, Brisbane, Melbourne and Sydney.
Before you fly · 6 minThe smartest way to buy your Dhaka → Australia ticket
Routes via Singapore, KL, Bangkok and Dubai, booking windows, student baggage deals and the mistakes that cost 50,000+ taka.
Before you choose · 9 minSkilled occupation lists — the roles that lead to PR
The Core Skills Occupation List, state nomination lists, skills assessment bodies and which occupations a Bangladeshi graduate can realistically reach.
After you land · 8 minHow to find a rental in Australia (and not get scammed)
Sharehouse vs lease, bond and rental ledger rules, the inspection script that wins agents over, and the scams that target new arrivals.